- Pick your flowers the day before and put them in water so they can have a good long drink. You can make your bouquet 1-2 days before your wedding, and leave them in cold water, but don’t add your burlap or ribbon until the day of your wedding.
- Strip the hydrangeas of their leaves, except for the ones closest to the top.
- St Order your hydrangeas into size.
- Take the largest hydrangea to use as your central flower, and layer two large hydrangeas around it.
- Manipulate the leaves so that they are all on the outside of the bouquet.
- Use floristry wire to keep the stems together, then secure with floristry tape.
- Cut the stems so to about 8 inches long (this length should sit in your hands nicely).
- Bind them together by winding floristry tape down the length of the stems, taking care to keep the stems as straight as possible and ensuring you leave around 2 inches of stems free at the base. Then secure the end of the tape in place with a dab of glue from the gun.
- Cover the floristry tape with burlap or ribbon (depending on the style you want to achieve), winding it down from the top of the stems to the bottom, but still keeping that 2 inches of stem free at the base. Secure the burlap or ribbon in place with more glue, or corsage pins. If you are using ribbon, try to match the colour to that of your flowers.
- Spritz the bouquet with water.
MIXED
Augment simple domes of Hydrangea with grasses, stephanotis or eucalyptus or up the ante by mixing it up with roses or peonies in soft pastel hues.
You will need:
- 3 x Hydrangea stems
- 3-6 x White or Dusty Pink Roses
- 3 x Peonies
- Florist tape
- 1.5 inch wide strip of burlap or ribbon
- 1½ inch pearl-headed corsage pins
- Scissors or secateurs
- Glue Gun and Glue
- Water spray
- Strip the hydrangea, rose and peony stems of their leaves.
- Sort the flowers according to size.
- Take three of the largest pink hydrangeas and secure them together at the top of the stems with floral tape.
- Take one rose stem and insert the end of its stem through the hydrangea florets halfway between the centre of the bouquet and the outside of the bouquet, and pull it through space – a bit like pulling a needle and thread through some fabric – it helps to create a tidy colour pattern.
- Repeat with the remaining roses, evenly spacing them around the central hydrangea, then fasten in place with floral tape.
- Take one large peony stem and insert the end of its stem through the hydrangea florets towards the outside of the bouquet, and pull it through space just as you did with the roses. Repeat with the remaining two peonies.
- Secure in place with florist tape, and ensure all your peony petals are facing upwards. This should leave you with a nice tidy bouquet.
- Cut the stems so they are all roughly 8 inches long, and secure together using floral tape, taking care to keep the stems as straight as possible.
- Finish the bouquet off by wrapping ribbon around the stems, leaving 2 inches of stems showing at the end. Secure your ribbon with a dab of glue from a glue gun or by using corsage pins – taking care to push the pins into the stems vertically so they don’t pierce you when you are holding the bouquet.
- Spritz with water.
Adding Decoration
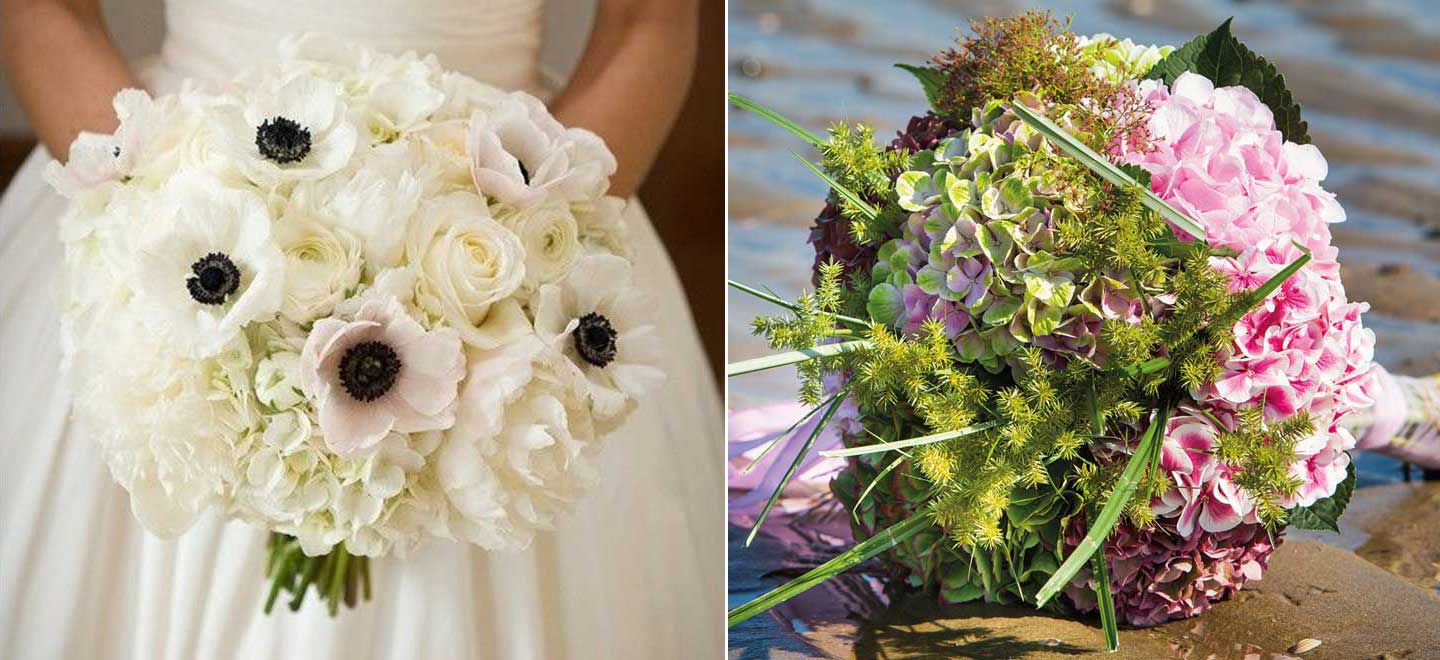
You can add more decoration to your bouquet by winding some pearl beads around the top of your stems, securing them in place with glue, then adding a bow on top of the pearls.
You could also add pearl-headed corsage pins into the florets of your flowers on the actual bouquet
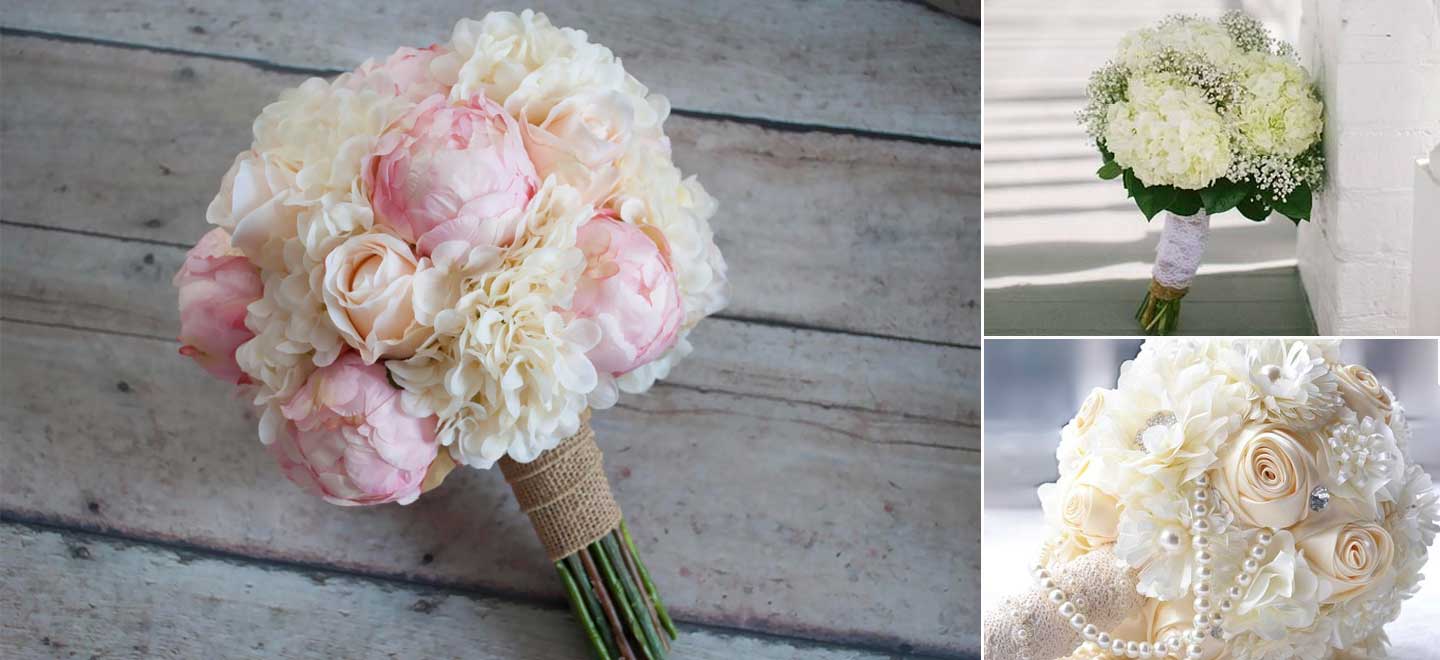
Image Credits
- Main image: Hydrangea World
- Green and White Hydrangea Bouquet: Hydrangea World
- Mixed Bouquets – white hydrangeas with poppies via Pinterest.com, pink bouquet via Hydrangea World
- Decorations: From L-R – pink bouquet via etsy.com, white bouquet images via Pinterest.com
The Perfect Wedding Flower?
What makes the ‘classic’ hydrangea the perfect wedding flower?
Need help finding the perfect florists?
Explore our selection of wedding florists specialists for the most unique or custom handmade bouquets.
Have questions? Ask anything, and our team of experts will be there to help you decide.
Not only is it one of the most spectacular flowers around, but the hydrangea also symbolises grace, beauty and abundance.
What’s more, the cut flowers come in a huge variety of different colours including every shade of red, pink and purple as well as in white, green and blue.
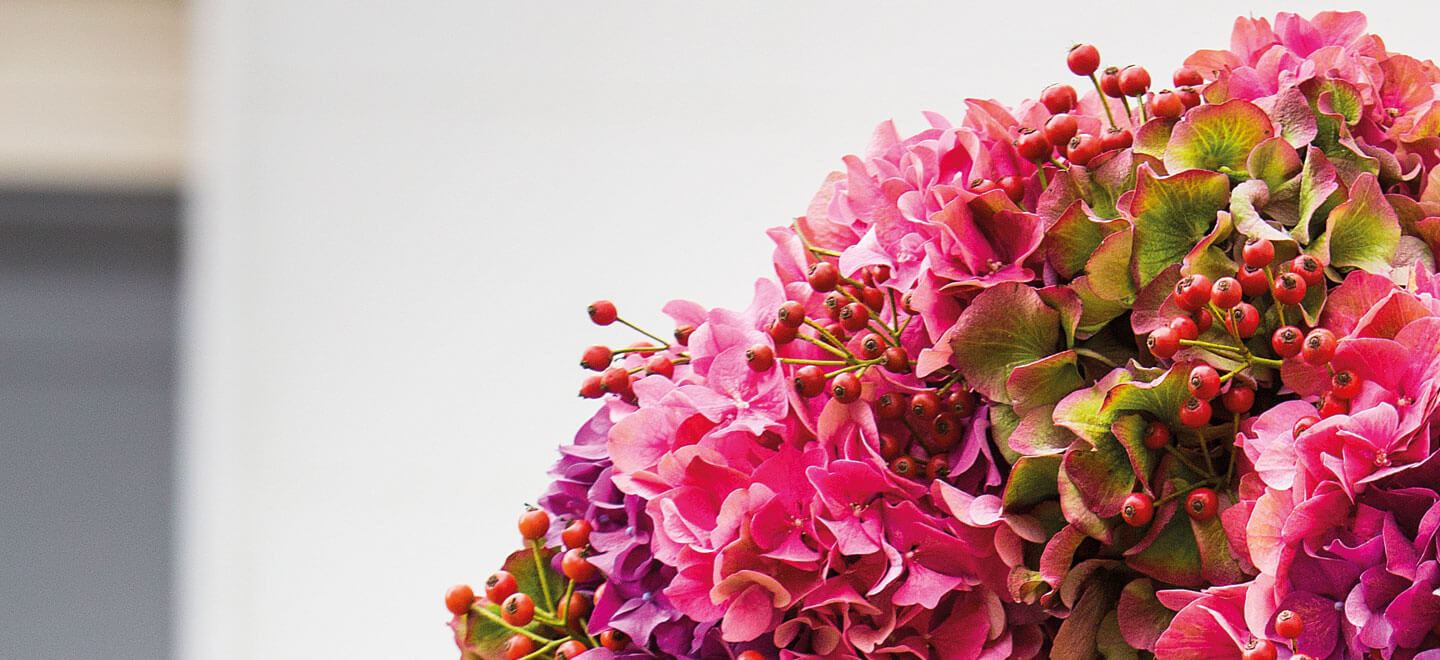
When we think of the hydrangea, we instantly conjure an image of a huge dome of pastel-shaded flowers; in fact there are five main types of hydrangea, but it’s the classic hydrangea that really stands out for weddings.
Ask a wedding florist expert
Are you representing a wedding venue?
Join us and place your listing here!
What is a classic hydrangea?
Unique to the hydrangea is the colour change – a phenomenon that occurs during bloom and sees the hydrangea produce gorgeous colour combinations on each flower including green and red, purple and green, and flowers with different coloured margins.
When the hydrangea has gone through this colour change, they are known as ‘classic’ hydrangeas.
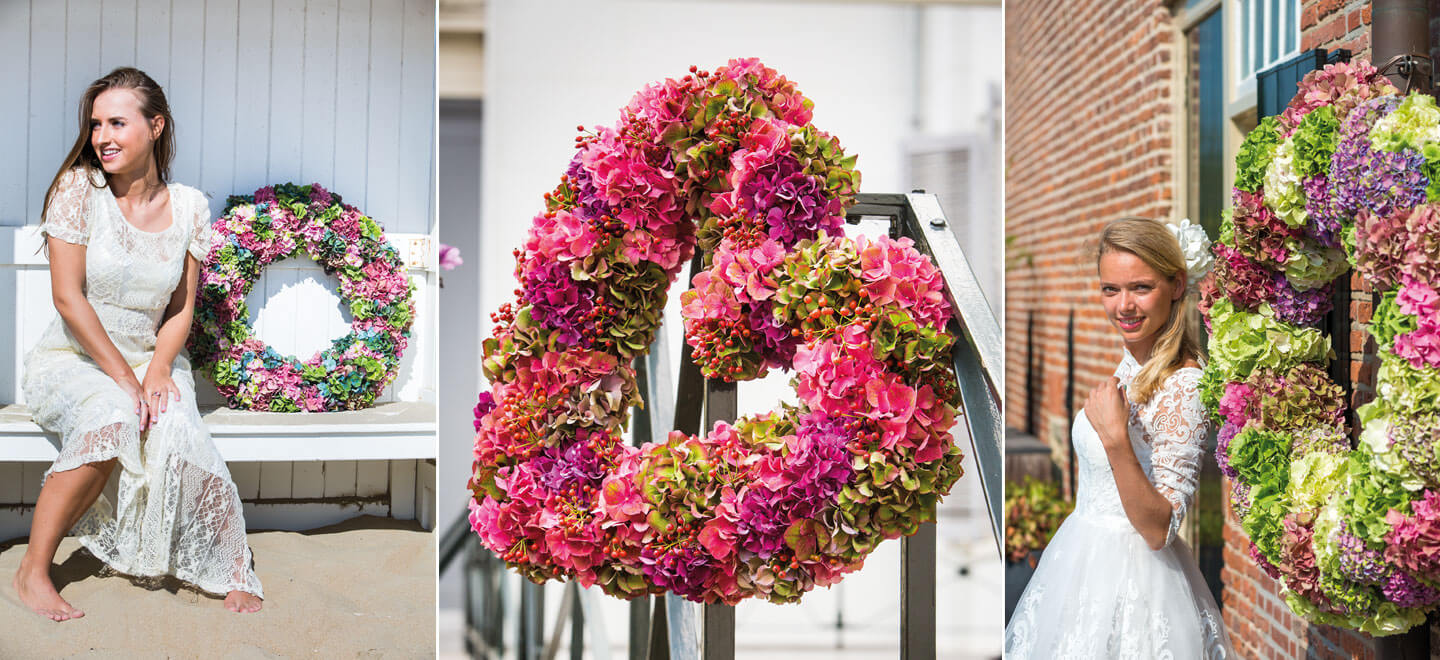
Classic hydrangeas are strong and durable and make excellent wedding wreaths, centerpieces and bouquets.
What’s more, if you have a bouquet made from classic hydrangeas, you can dry it and keep your bouquet long after your wedding day.
Versatility
Hydrangeas work well on their own, but you can augment arrangements with other flowers, grasses and green leaves.
In fact, it is such a flexible floral friend you can combine it with other cut flowers in endless varieties to make some truly magnificent arrangements. How will you style yours?
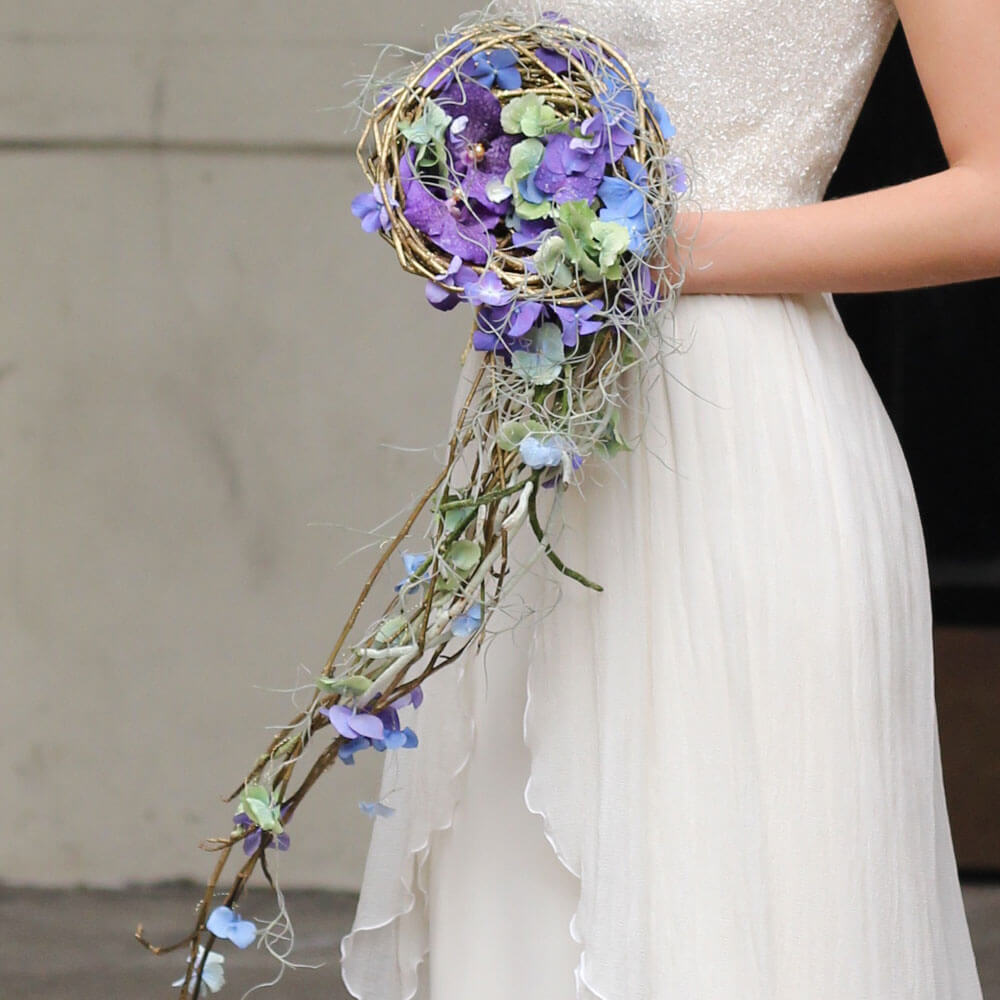
This feature was written as an advertorial in collaboration with Hydrangea World. All images are copyrighted by Hydrangea World.
We love the humble hydrangea – its beautiful but understated floral dome of blue, pink, white, purple or even green flowers are the epitome of simple elegance complementing vintage and rustic themes seamlessly and bringing a romantic purity to lavish, high budget weddings.
Symbolic of grace and sincerity, it comes pre-dressed in its dome of many flowers meaning you don’t have to do much to turn it into your perfect wedding bouquet, and here’s how…
SOLO
Good things come in small packages, and the hydrangea’s ball of tiny flowers comes pretty much aisle ready.
Follow these steps to create your a wedding bouquet.
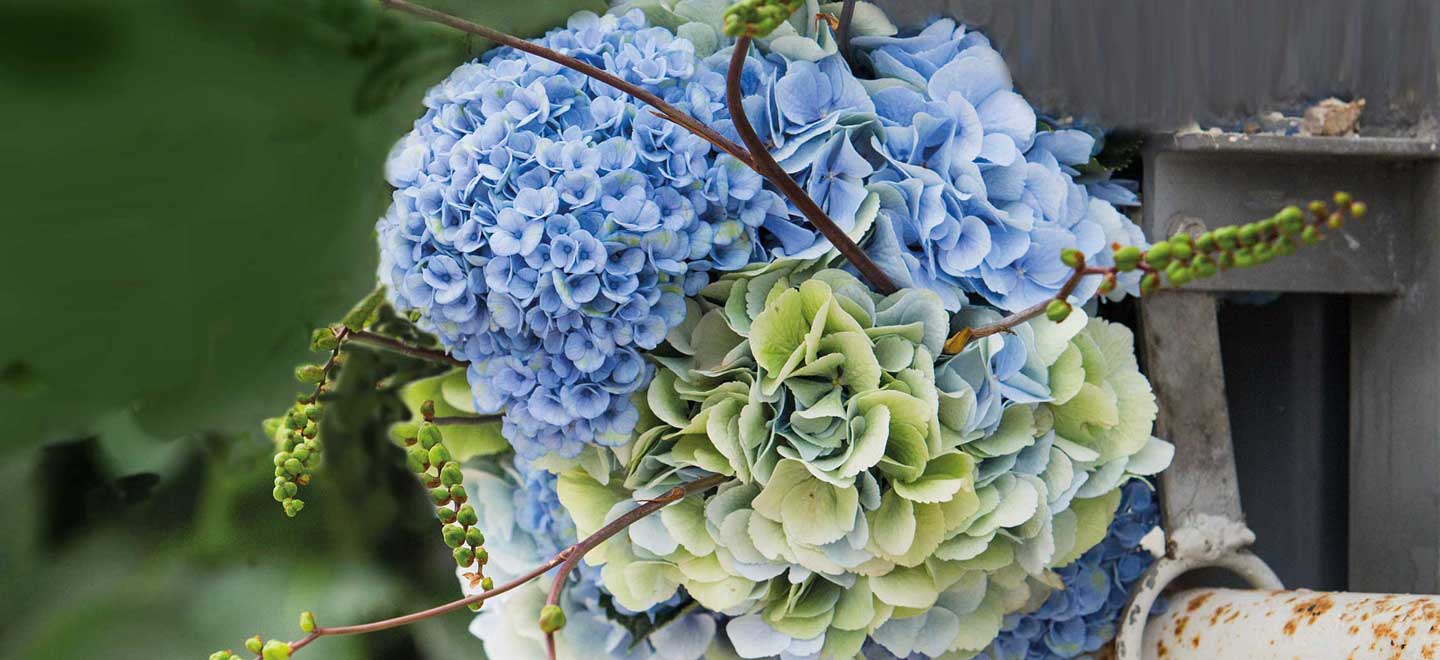
You will need:
- 3 x Hydrangea stems
- Florist tape
- 1.5 inch wide strip of burlap or ribbon
- 1½ inch pearl-headed corsage pins
- Scissors or secateurs
- Glue Gun and Glue
- Water spray
- Pick your flowers the day before and put them in water so they can have a good long drink. You can make your bouquet 1-2 days before your wedding, and leave them in cold water, but don’t add your burlap or ribbon until the day of your wedding.
- Strip the hydrangeas of their leaves, except for the ones closest to the top.
- St Order your hydrangeas into size.
- Take the largest hydrangea to use as your central flower, and layer two large hydrangeas around it.
- Manipulate the leaves so that they are all on the outside of the bouquet.
- Use floristry wire to keep the stems together, then secure with floristry tape.
- Cut the stems so to about 8 inches long (this length should sit in your hands nicely).
- Bind them together by winding floristry tape down the length of the stems, taking care to keep the stems as straight as possible and ensuring you leave around 2 inches of stems free at the base. Then secure the end of the tape in place with a dab of glue from the gun.
- Cover the floristry tape with burlap or ribbon (depending on the style you want to achieve), winding it down from the top of the stems to the bottom, but still keeping that 2 inches of stem free at the base. Secure the burlap or ribbon in place with more glue, or corsage pins. If you are using ribbon, try to match the colour to that of your flowers.
- Spritz the bouquet with water.
MIXED
Augment simple domes of Hydrangea with grasses, stephanotis or eucalyptus or up the ante by mixing it up with roses or peonies in soft pastel hues.

You will need:
- 3 x Hydrangea stems
- 3-6 x White or Dusty Pink Roses
- 3 x Peonies
- Florist tape
- 1.5 inch wide strip of burlap or ribbon
- 1½ inch pearl-headed corsage pins
- Scissors or secateurs
- Glue Gun and Glue
- Water spray
- Strip the hydrangea, rose and peony stems of their leaves.
- Sort the flowers according to size.
- Take three of the largest pink hydrangeas and secure them together at the top of the stems with floral tape.
- Take one rose stem and insert the end of its stem through the hydrangea florets halfway between the centre of the bouquet and the outside of the bouquet, and pull it through space – a bit like pulling a needle and thread through some fabric – it helps to create a tidy colour pattern.
- Repeat with the remaining roses, evenly spacing them around the central hydrangea, then fasten in place with floral tape.
- Take one large peony stem and insert the end of its stem through the hydrangea florets towards the outside of the bouquet, and pull it through space just as you did with the roses. Repeat with the remaining two peonies.
- Secure in place with florist tape, and ensure all your peony petals are facing upwards. This should leave you with a nice tidy bouquet.
- Cut the stems so they are all roughly 8 inches long, and secure together using floral tape, taking care to keep the stems as straight as possible.
- Finish the bouquet off by wrapping ribbon around the stems, leaving 2 inches of stems showing at the end. Secure your ribbon with a dab of glue from a glue gun or by using corsage pins – taking care to push the pins into the stems vertically so they don’t pierce you when you are holding the bouquet.
- Spritz with water.
Adding Decoration
You can add more decoration to your bouquet by winding some pearl beads around the top of your stems, securing them in place with glue, then adding a bow on top of the pearls.
You could also add pearl-headed corsage pins into the florets of your flowers on the actual bouquet

Image Credits
- Main image: Hydrangea World
- Green and White Hydrangea Bouquet: Hydrangea World
- Mixed Bouquets – white hydrangeas with poppies via Pinterest.com, pink bouquet via Hydrangea World
- Decorations: From L-R – pink bouquet via etsy.com, white bouquet images via Pinterest.com
The Perfect Wedding Flower?
What makes the ‘classic’ hydrangea the perfect wedding flower?
Not only is it one of the most spectacular flowers around, but the hydrangea also symbolises grace, beauty and abundance.
What’s more, the cut flowers come in a huge variety of different colours including every shade of red, pink and purple as well as in white, green and blue.

When we think of the hydrangea, we instantly conjure an image of a huge dome of pastel-shaded flowers; in fact there are five main types of hydrangea, but it’s the classic hydrangea that really stands out for weddings.
What is a classic hydrangea?
Unique to the hydrangea is the colour change – a phenomenon that occurs during bloom and sees the hydrangea produce gorgeous colour combinations on each flower including green and red, purple and green, and flowers with different coloured margins.
When the hydrangea has gone through this colour change, they are known as ‘classic’ hydrangeas.

Classic hydrangeas are strong and durable and make excellent wedding wreaths, centerpieces and bouquets.
What’s more, if you have a bouquet made from classic hydrangeas, you can dry it and keep your bouquet long after your wedding day.
Versatility
Hydrangeas work well on their own, but you can augment arrangements with other flowers, grasses and green leaves.
In fact, it is such a flexible floral friend you can combine it with other cut flowers in endless varieties to make some truly magnificent arrangements. How will you style yours?


This feature was written as an advertorial in collaboration with Hydrangea World. All images are copyrighted by Hydrangea World.
